The essentials
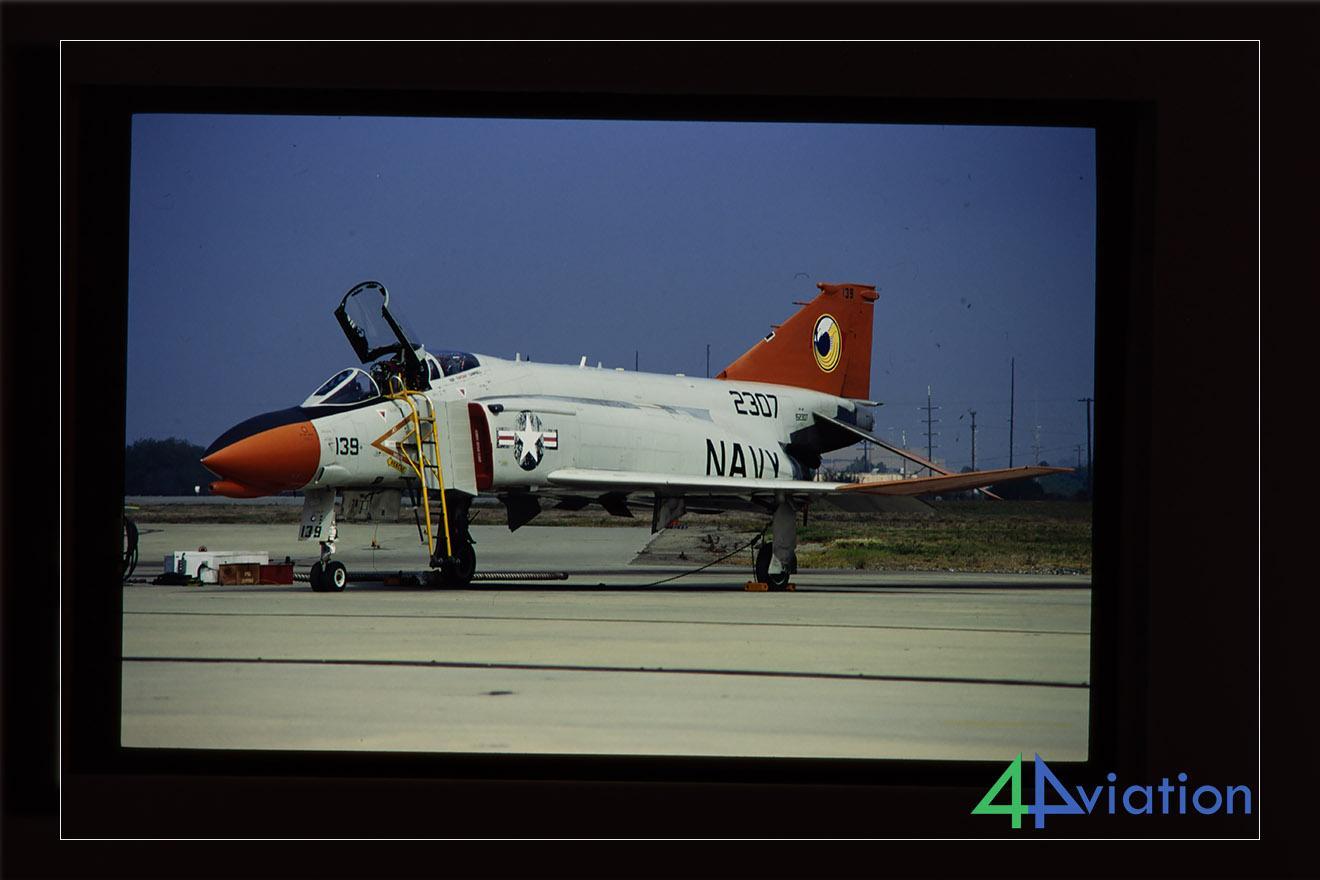
Many years ago, colleague aviation enthusiast Roel Reijne first posted a way on the Internet to digitize slides using a DSLR. This article is a tribute to this method and meant to spread the knowledge and share experiences. Basically, the way to digitize the slides is to take individual pictures of each slide. That is the short version, but there is of course a lot more to it. The described process in this article is just an example, please let us know if you have any additional insights!
Camera
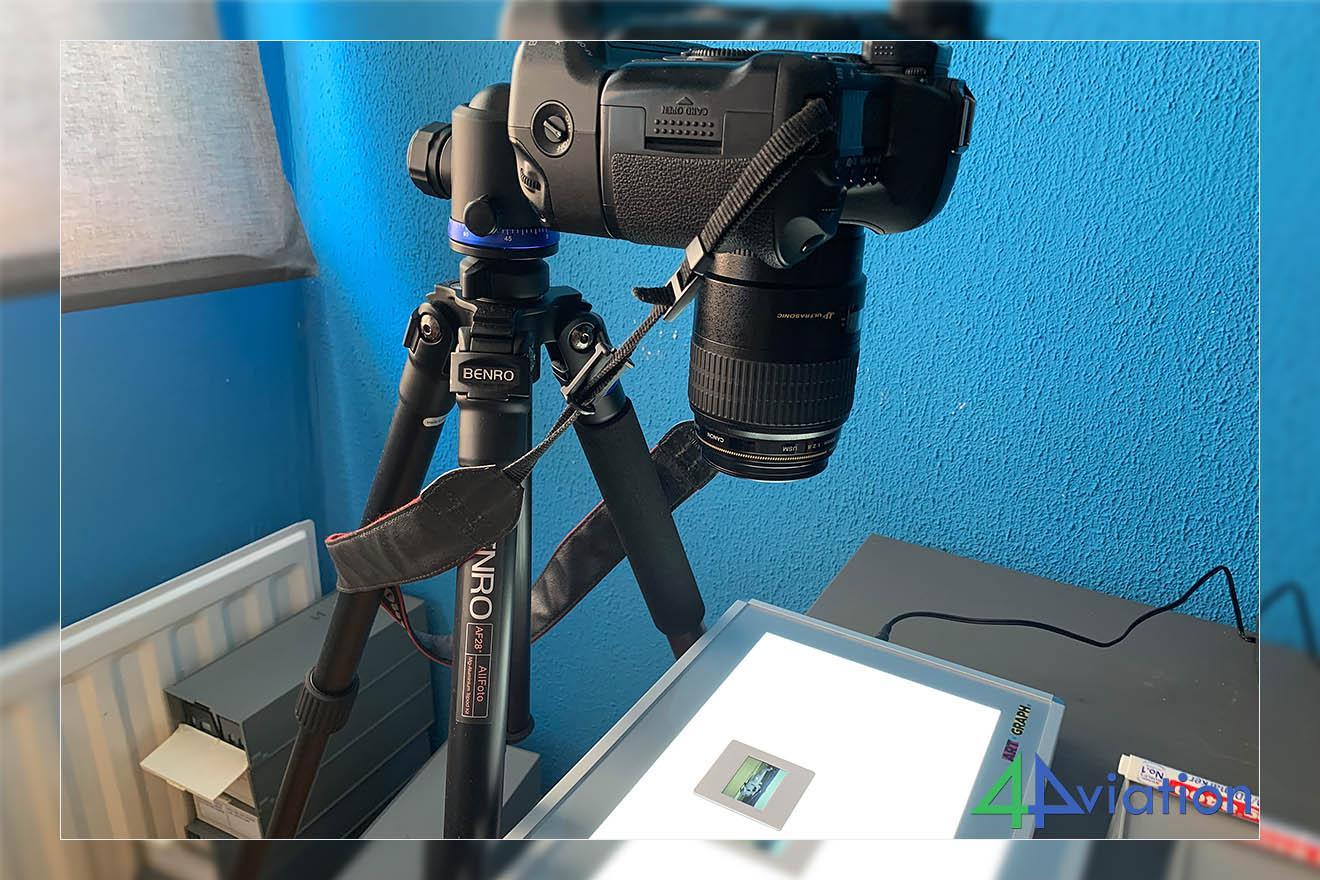
In this set-up, we used a Canon EOS 5D Mark II but any DSLR would do. Having a full frame sensor gives a bit of advantage when using Macro lenses but is not a must. We have not tested with other types of cameras (compact, mirrorless) so if you have any experience with that, let us know!
Lens
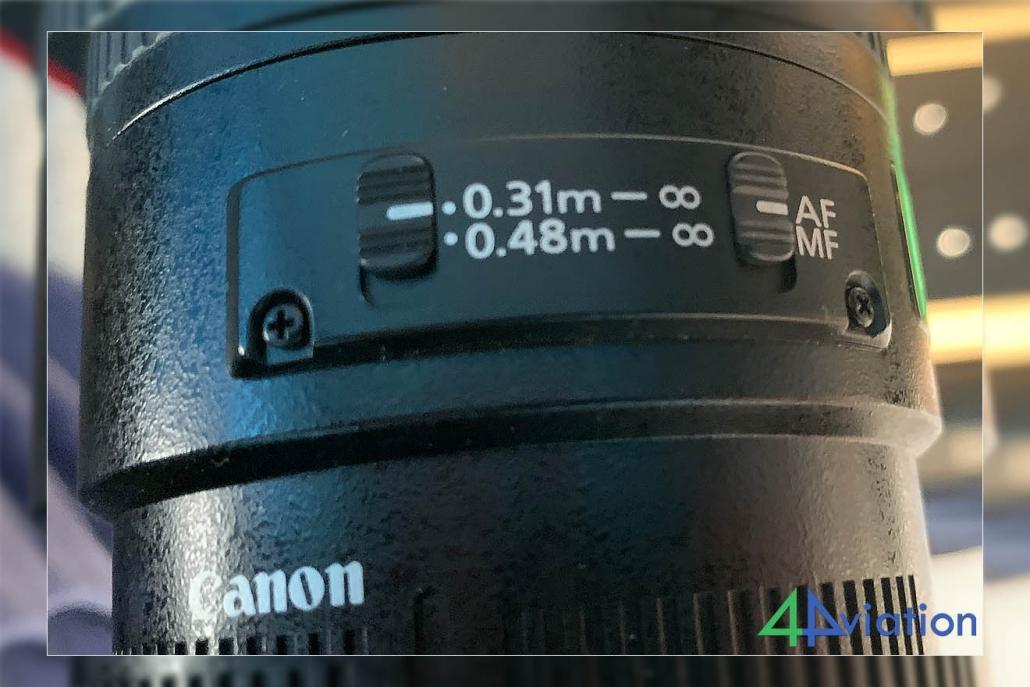
To prevent quality loss, a Macro lens is recommended. Most Macro lenses are designed for photographing objects from close by, and therefore have so-called reproduction ratios of 1:1 or better. A reproduction ratio of a lens is the ratio of the subject size on the sensor to actual subject size. So, 1 centimetre of the size is reproduced on the sensor as 1 actual centimetre, minimalizing loss of quality. Besides that, a Macro lens has a small minimum focus distance, the distance between the subject and the sensor (so not the end of the lens!). The focal plane mark on your camera indicates from where the minimum focus distance should be measured. In this example, our lens has a minimum focus distance of 31 centimetres as can be seen on the outside of the lens.
Tripod
In this method, a tripod is a must. As you will be working with low shutter speeds it is virtually impossible to do this without a tripod. The tripod has to have a head that enables you to position the camera pointing downwards, but other than that any firm tripod will do.
Lightsource
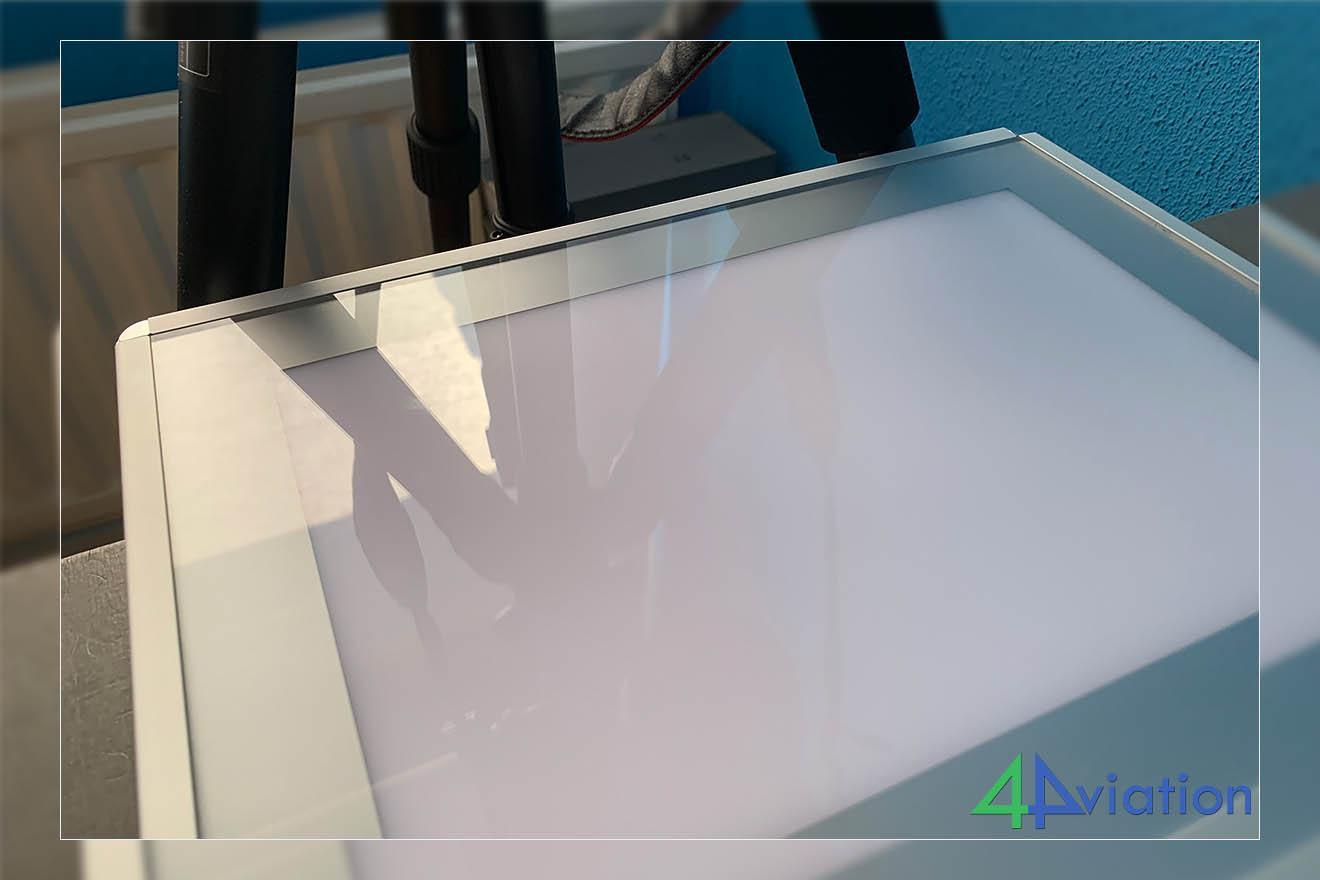
To make sure the slide is sufficiently lit, you will need to place it on a lightbox. Important is to take into mind that the light source needs to be even, and the surface without any relief as this will be viewable on the photographed slide. In the past, lightboxes were illuminated with lightbulbs, making even distribution of the light difficult. Nowadays, affordable lightboxes with LED lights are widely available. In this test, we used an Artograph Lightpad 920, but there are many different types available.
Getting to work
Set-up
The method we use in this article is perfect for digitizing your slides, but not the most time-efficient way to do so. Keep this in mind when setting up your camera. Make sure you have a place where you can leave the set-up as is, to come back later. After a certain number of slides, the work gets a bit boring and you do not want to re-install your camera after every box of slides. Please also keep in mind that light other from the lightbox may have an effect on your slides when photographing them, so make sure to use a place where you can work in a certain degree of darkness. If you want to make sure you can always use a round cylinder (i.e. an empty toilet roll) between the lens and the slide.
Make sure that the camera is perfectly level with the slides, using a plumb rule. If not, the picture may be partially out of focus.
Settings
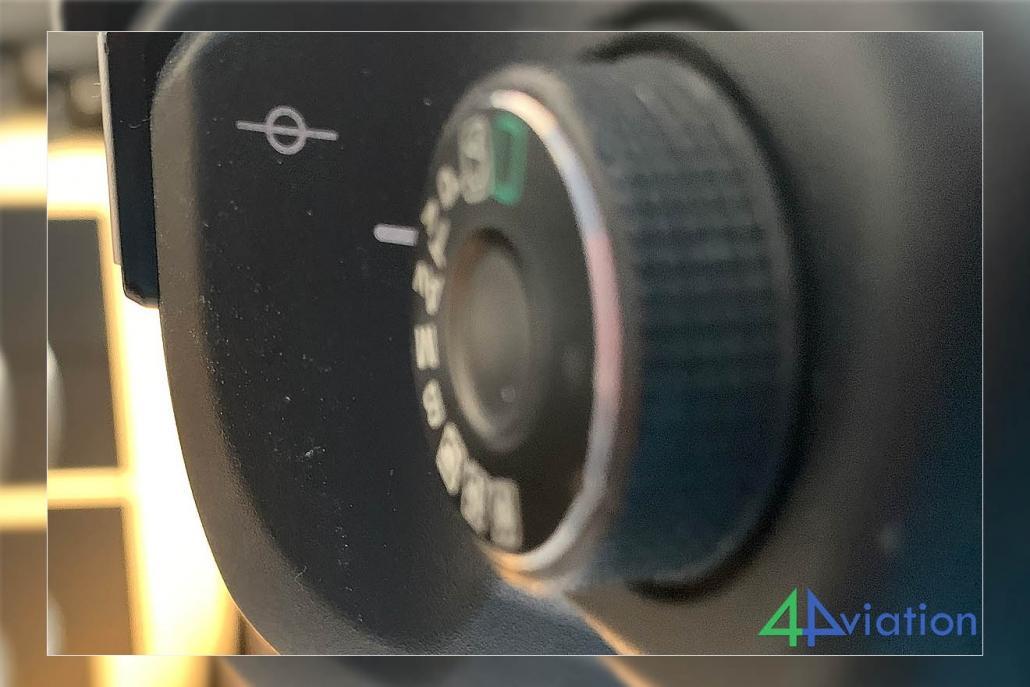
The result of your pictures will differ as the material you work with will differ as well. You cannot create good digital pictures from bad slides! To minimize noise, set your camera to the lowest ISO value possible. Use the Aperture Priority mode on your camera (A or Av) and start with aperture f/8. This usually gives the best result for the lens of you do not need Depth OF Field. Of course, try to experiment as much as possible what works for your specific situation. With aperture preset, the shutter speed can be very long. To prevent movement from the camera when pressing the release button, you can use a remote control (either wired or wireless) or you can use the timer on your camera.
From dust to dust
As soon as you have taken your picture, you will notice that those little slides have gathered a lot of dust over the years! Sometimes not even visible through the lens, when loaded into your photo software they become visible immediately. The trick is to clean each and every slide before photographing it. A lot of work, but it beats the time you will need to clean it afterwards.
Postprocessing
As soon as you are done photographing, you will need rework in Lightroom, Photoshop or the tool of your choice. As every slide is different, there is no one way to go about this but steps will certainly include removing (even more) dust, levelling the horizon, correcting the White Balance, noise reduction and color adjustment. A single slide may take quite some time bit all depends on the use of your digital slide. If it is just for record keeping, the process can be faster than when you have the need to publish your pictures somewhere.
Of you have any additions to this way of working, please drop us a line at info@4aviation.nl!


